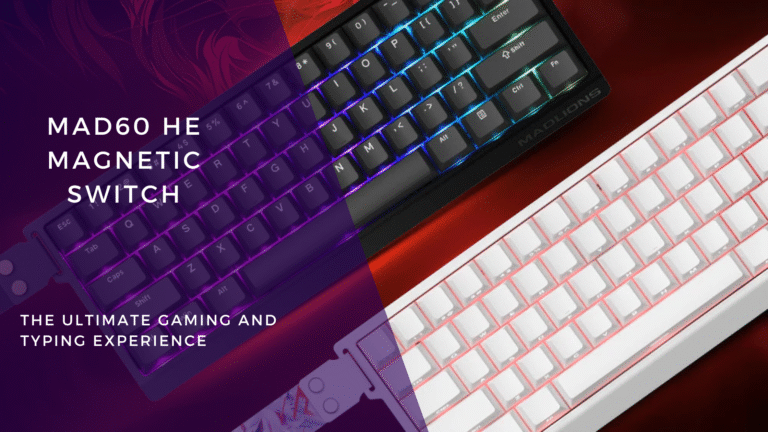
Magnetic keyboards offer a cutting-edge typing experience, combining fast response times with a satisfying tactile feel. Over time, however, you might want to refresh the look (keycaps) or fine-tune the performance (switches). This guide walks you through replacing both keycaps and magnetic switches safely, even if you’re new to mods.
What You’ll Need (Tools & Gear)
- Keycap Puller – We suggest using a wire-type puller to apply even force and avoid damaging the caps.
- Magnetic Switch Puller – Designed specifically for magnetic switches; grips securely for safe removal.
- Compatible Keycaps & Switches – Always double-check compatibility (switch type, pin layout, clearance).
- Cleaning Tools (Optional but Recommended): Small brush / air blower to clear out dust and debris.
- Small Tray or Container: To keep screws or small parts safe while you work.
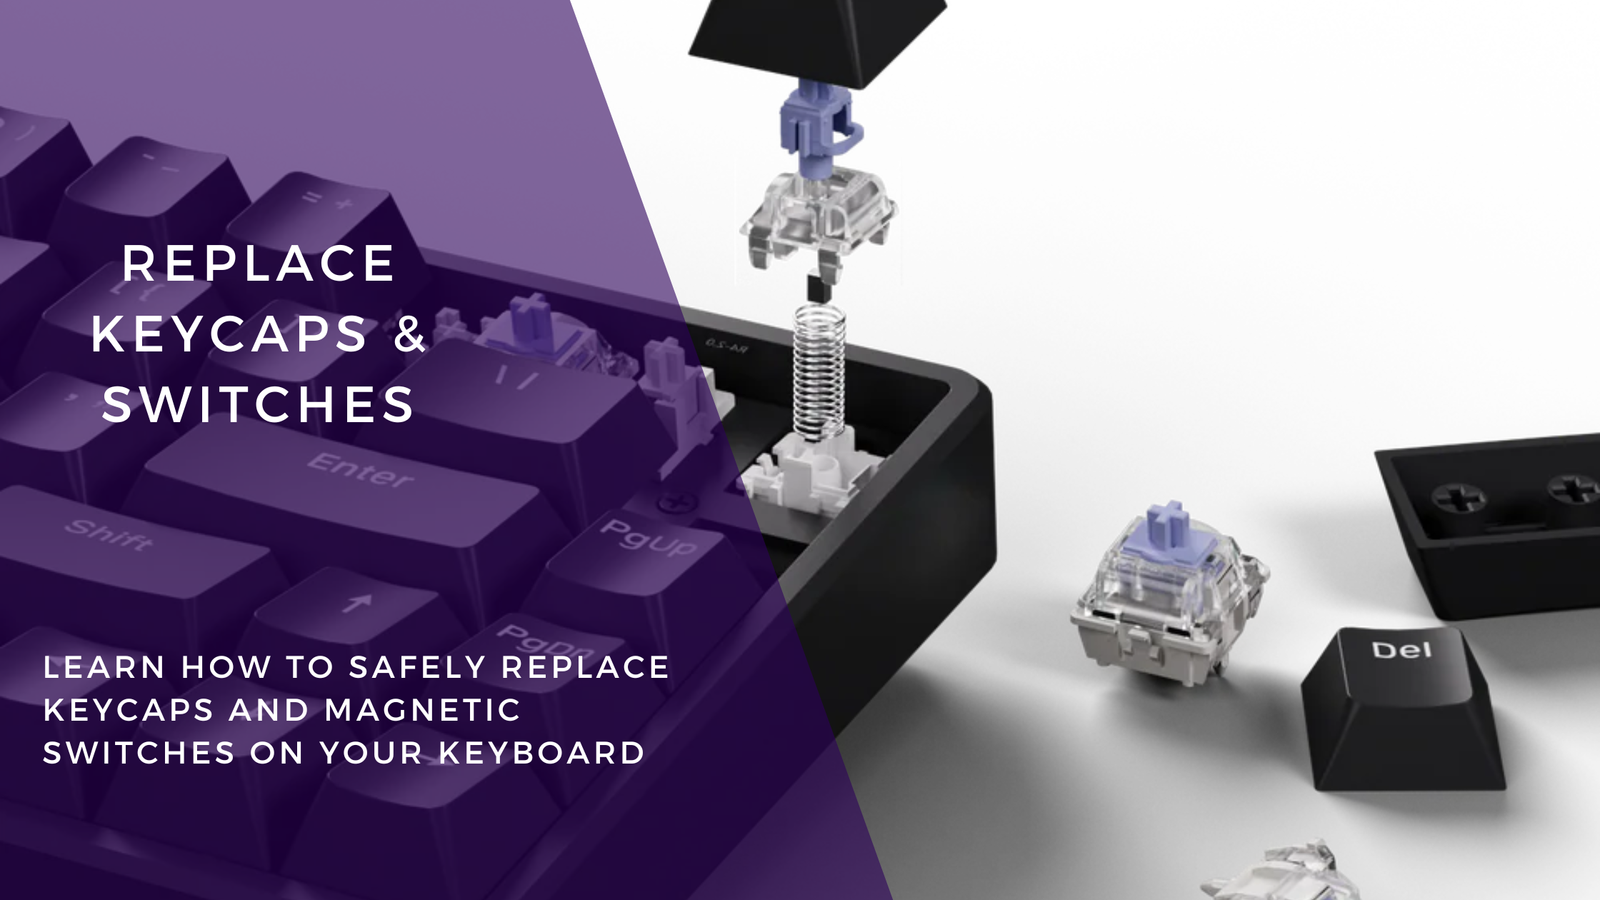
Step 1: Replacing Keycaps
- Remove keycaps using the puller. Grip on the sides, pull straight up—don’t angle or twist, to protect stabilizers and the switch housing.
- Be extra careful with larger keys like Space, Enter, Shift; these often have stabilizers underneath.
- To install new keycaps, align the socket (the cross or stem shape) with your switch stem, then press down until you have a secure fit—there should be a click or tactile confirmation.
Step 2: Replacing Magnetic Switches
- Take off all keycaps first, so you can access every switch easily.
- Use the magnetic switch puller to gently remove the switch: grip top and base, pull straight up. Don’t twist or wiggle—this protects the PCB/socket.
- Inspect your new switch’s pins. If any are bent, very carefully straighten them (tweezers can help).
- Insert the new switch: align the pins with the holes in the socket, then press firmly but gently until it seats properly.
- Once all switches are replaced, plug in the keyboard and test every key to make sure all are working correctly.
Tips & Safety Notes
- Avoid Bent Pins: Forcing a switch in when it doesn’t fit smoothly usually causes more damage.
- Check Compatibility: Even among magnetic switches, different models and pin layouts vary. Always match to your keyboard’s design.
- Clean While You’re At It: During disassembly, remove dust / debris around stabilizers, switch sockets, and keycaps.
- Work in a Clean, Well-Lit Space: Keeps track of small parts and makes everything easier.
Conclusion
Replacing keycaps and switches isn’t just about changing the look—it’s about maintaining and customizing your keyboard for better performance and comfort. With the right tools, patience, and care, you can upgrade your magnetic keyboard safely and confidently.